The Complete Guide To Repotting Hydrangeas
The Complete Guide to Repotting Hydrangeas
Hydrangeas are beautiful flowering plants that can add a touch of elegance to any garden. However, they can also be quite finicky, and one of the most important things you can do to keep them healthy is to repot them regularly.
Repotting hydrangeas is not difficult, but it is important to do it properly. In this guide, we will walk you through the steps involved in repotting hydrangeas, from choosing the right pot to watering your newly repotted plant.
When to Repot Hydrangeas
The best time to repot hydrangeas is in the spring or fall, when the plant is not actively growing. If you live in a cold climate, you may want to repot your hydrangeas in the fall, so that they have time to establish themselves in their new pot before the winter weather arrives.
Choosing the Right Pot
When choosing a pot for your hydrangea, it is important to select one that is the right size. The pot should be about two inches larger in diameter than the root ball of your hydrangea. This will give the plant enough room to grow, but not so much room that the roots become waterlogged.
The pot should also have drainage holes in the bottom. This will help to prevent the roots from sitting in water, which can lead to root rot.
The Soil Mix
The soil mix you use for your hydrangea is also important. Hydrangeas prefer a soil that is slightly acidic. You can buy a pre-made ericaceous potting mix, or you can make your own by mixing equal parts potting soil, peat moss, and sand.
Repotting Steps
Once you have chosen the right pot and soil mix, you can begin the repotting process. Here are the steps involved:
- Water your hydrangea thoroughly before repotting. This will help to loosen the roots and make them easier to handle.
- Carefully remove the hydrangea from its current pot. If the plant is rootbound, you may need to use a sharp knife or garden shears to loosen the roots.
- Place the hydrangea in the new pot. Fill in around the roots with the soil mix, being careful not to overfill the pot.
- Water the hydrangea thoroughly.
- Place the pot in a shady spot and keep the soil moist for the first few weeks.
Aftercare
Once you have repotted your hydrangea, it is important to care for it properly. Water the plant regularly, making sure that the soil does not dry out completely. You may also want to fertilize your hydrangea every few weeks with a balanced fertilizer.
With proper care, your repotted hydrangea will thrive and bloom beautifully for many years to come.
Repotting hydrangeas is a relatively simple process, but it's important to do it correctly to ensure the health of your plant. Here are the basic steps:
- Choose a pot that is one size larger than the current pot.
- Fill the bottom of the pot with a layer of drainage material, such as pebbles or shards of pot.
- Add a potting mix that is specifically designed for hydrangeas.
- Gently remove the hydrangea from its current pot and loosen the roots.
- Place the hydrangea in the new pot and fill in around the roots with potting mix.
- Water the hydrangea thoroughly and fertilize it according to the package directions.
For more detailed instructions on repotting hydrangeas, please visit . This website provides clear and concise instructions, as well as helpful images and videos.
FAQ of repotting hydrangeas
1. When should I repot my hydrangea?
The best time to repot hydrangeas is in early spring, when the plant is starting to grow new roots. You can also repot hydrangeas in late winter, but this is not recommended if the plant is in poor condition.
2. How do I choose the right pot size for my hydrangea?
The new pot should be only one size larger than the current pot. If you choose a pot that is too large, the hydrangea's roots will not be able to fill it and the plant may not thrive.
3. What kind of soil should I use for my hydrangea?
Hydrangeas prefer moist, well-drained soil that is slightly acidic. You can use a commercial potting mix that is designed for hydrangeas, or you can make your own by mixing equal parts potting soil, peat moss, and perlite.
4. How do I repot my hydrangea?
- Gently remove the hydrangea from its current pot.
- Inspect the roots for any damage. If any roots are damaged, trim them off with a sharp knife.
- Place the hydrangea in the new pot, making sure that the root ball is at the same level as the soil surface.
- Fill in around the root ball with fresh soil, gently tamping it down as you go.
- Water the hydrangea thoroughly.
5. How do I care for my newly repotted hydrangea?
After repotting, place your hydrangea in a shady location and water it regularly. Once the plant has settled in, you can gradually move it to a sunnier spot. Be sure to water your hydrangea regularly, especially during hot, dry weather.
Image of repotting hydrangeas
- Image 1: A person is holding a hydrangea plant that is out of its pot. The roots are visible and some of the soil is loose.
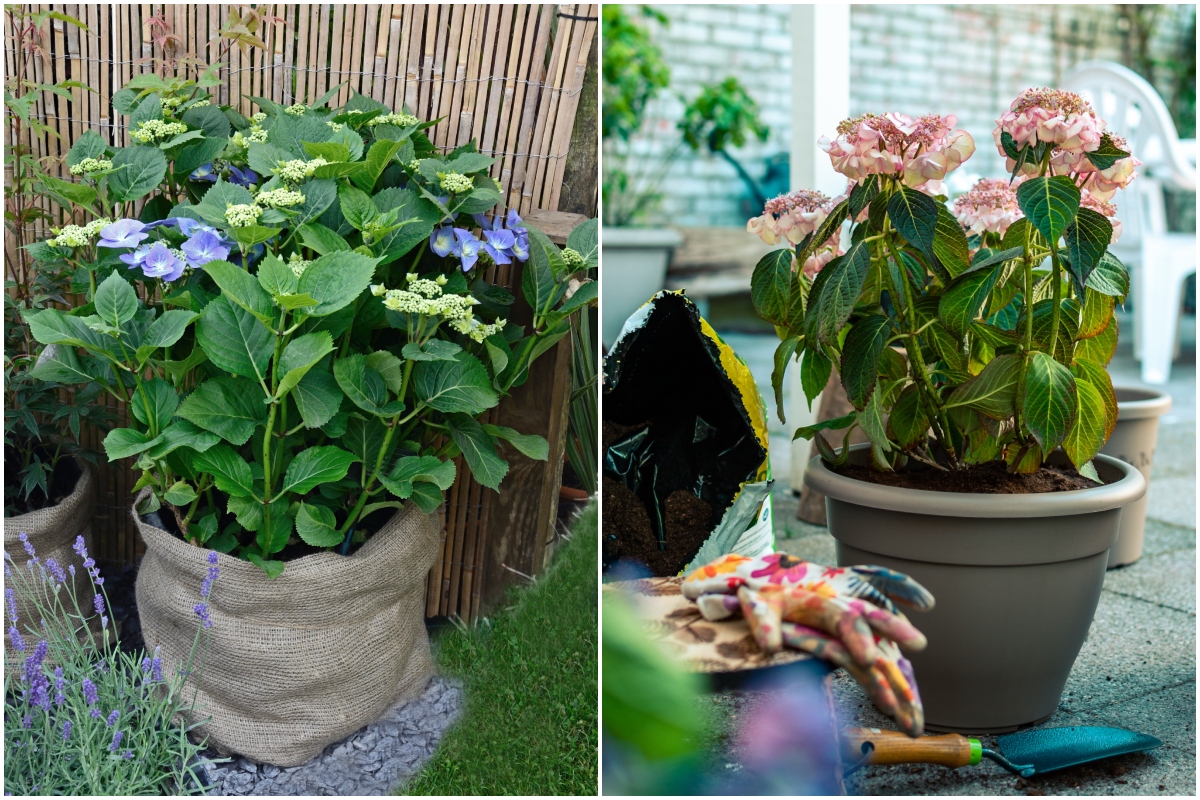
- Image 2: The person is placing the hydrangea plant in a new pot that is slightly larger than the old pot. They are filling in the gaps around the roots with fresh soil.
- Image 3: The person is watering the newly repotted hydrangea plant. The soil is moist and the leaves of the plant are perky.

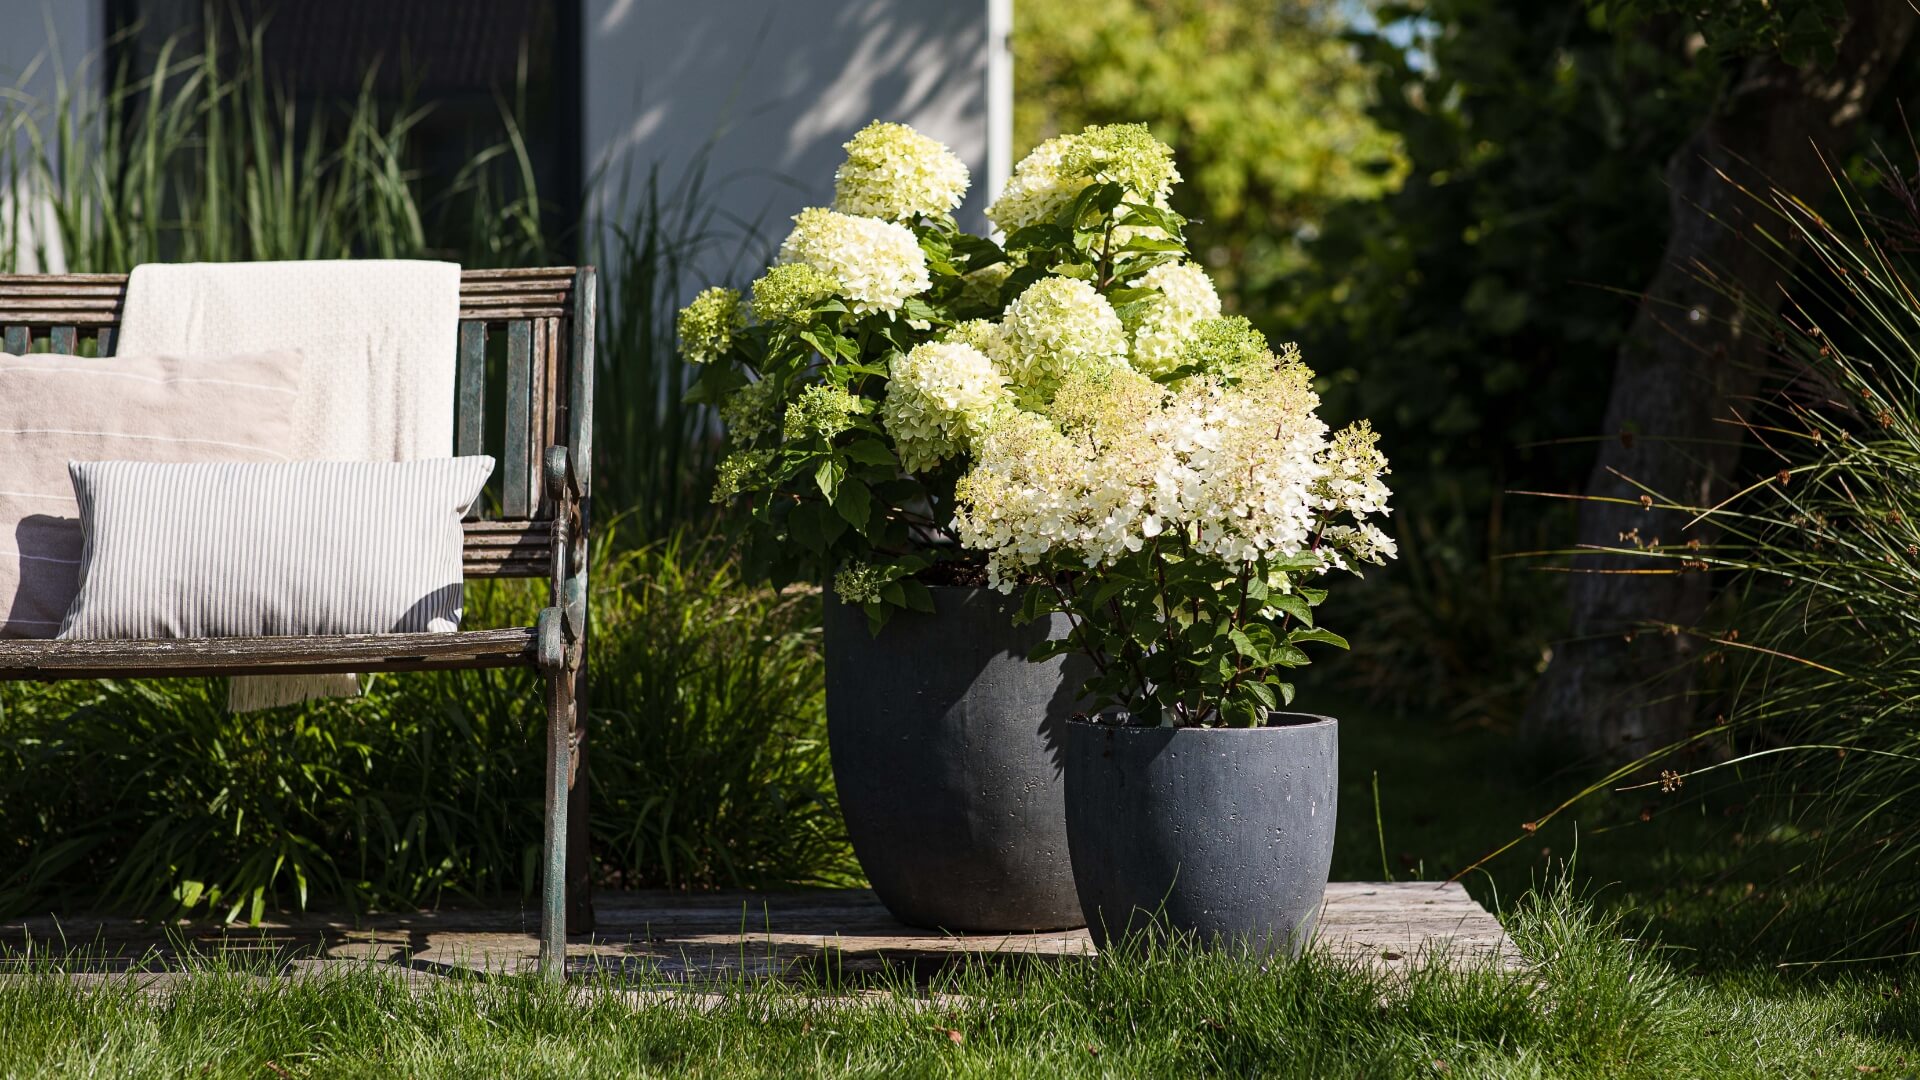
- Image 4: The hydrangea plant is now in its new pot and has been watered. It is sitting in a sunny spot in the yard.

- Image 5: The hydrangea plant is thriving in its new pot. It has new leaves and flowers.

Post a Comment for "The Complete Guide To Repotting Hydrangeas"